Electric Underwater Scooter (v2)
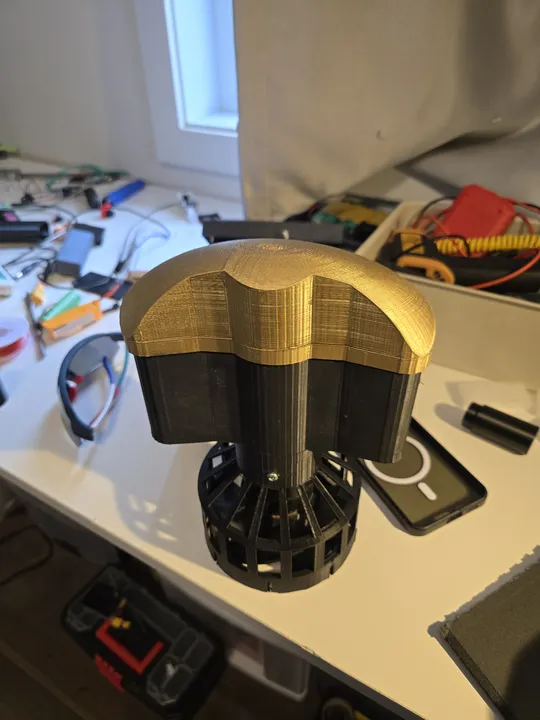
A brushless redesign of the v1 scooter. The goal was straightforward: more speed, more thrust, and a cleaner electrical system — without spending much more than the original build. The result is roughly double the speed and more than double the power, using mostly salvaged parts.
Why Brushless
The first version used simple motors that weren't very powerful. This new version uses a brushless motor salvaged from an old electric skateboard. It has much more torque and power, making the scooter twice as fast.
 I used a 5065 motor from a skateboard and a waterproof speed controller (ESC).
One lesson I learned: drone parts don't work well underwater. Drones need high speed, but underwater propellers need high torque. I had to find an ESC specifically rated for water use.
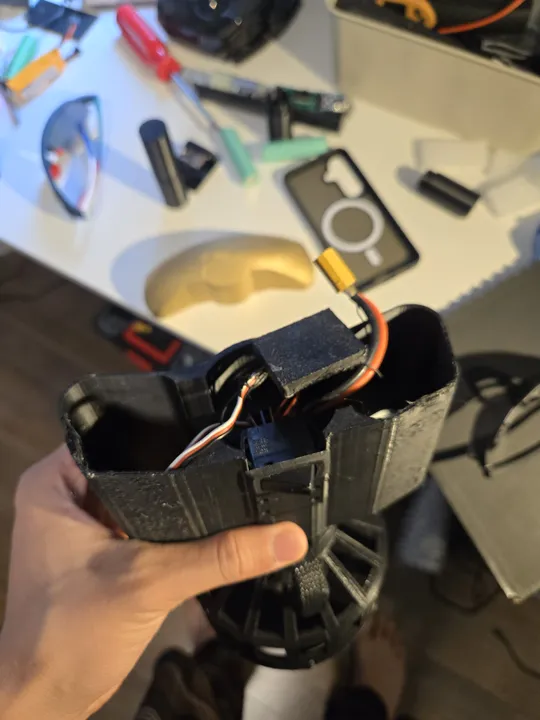
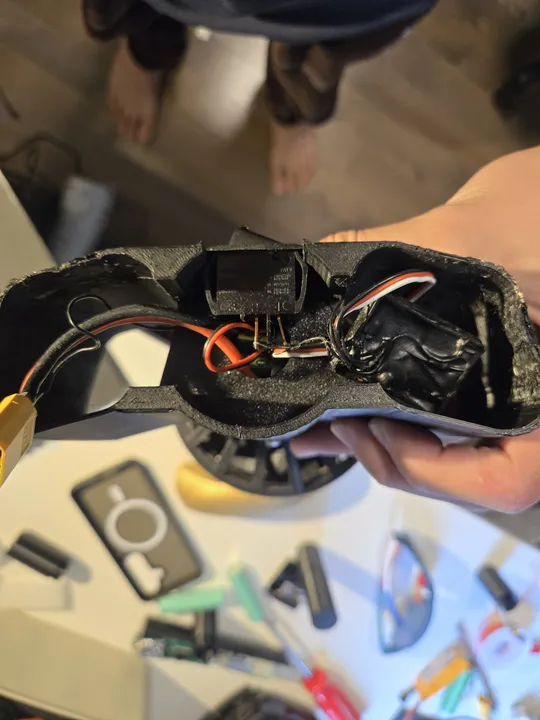
Electronics & Potting
The brain of the scooter is an ESP32-C3. It measures the battery voltage and changes the color of an LED to show how much power is left (green for full, red for empty). You can also double-click the main button to switch between low, medium, and high power modes.
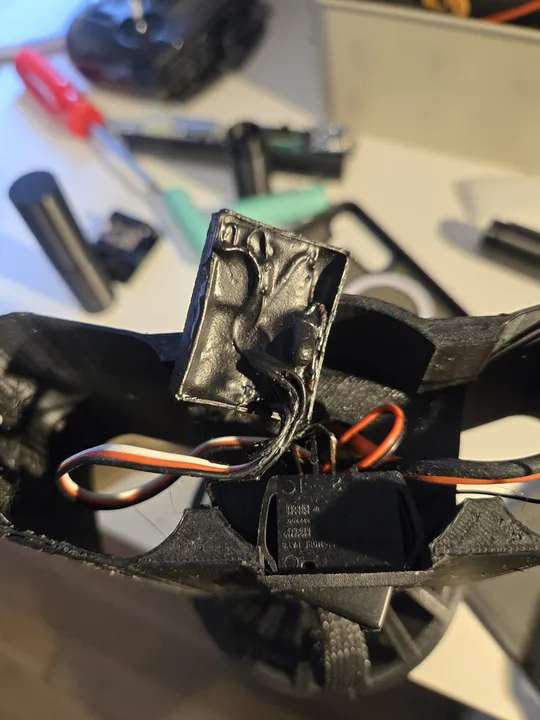 The circuit board is covered in liquid electrical tape to keep it 100% waterproof.
Because the board is permanently sealed, I had to write special software that lets me update the code wirelessly. If I didn't have this, I would have to break the seal every time I wanted to change something.
Potting with liquid electrical tape seals the board against water without the weight of a plastic case, bringing the cost down to about $5 for materials.
Firmware Logic
I used AI to build the boilerplate code, focusing my time on the actual control state machine and safety interlocks.
I wrote a custom debounce routine to filter underwater switch noise, and hand-audited the generated code to catch any logic errors that could cause a runaway motor.
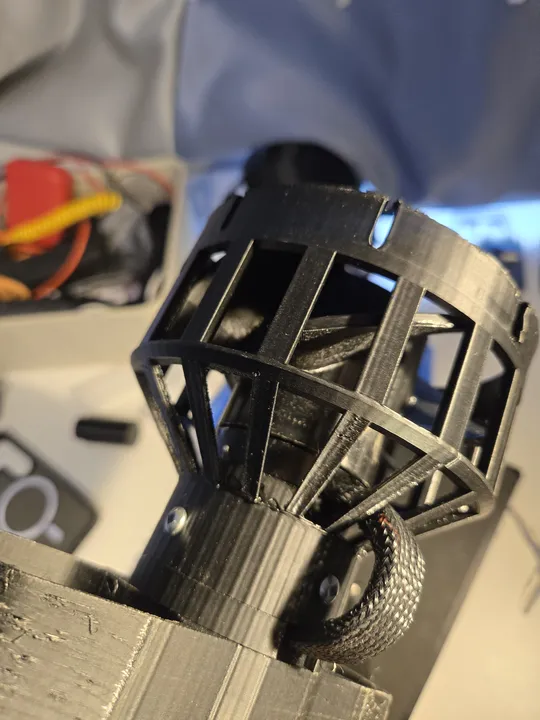
Mechanical Design
The chassis is PLA, designed in CAD and printed on an Ender 3. Getting everything to fit took many revisions — the brushless motor is physically larger than the brushed units in v1, and the waterproof ESC adds volume that had to be routed carefully. The final design is compact and holds together well.
Plastic cost for the chassis was around $10 in filament across all iterations.
Bill of Materials
- Motor (Leafboard 5065 Brushless Outrunner): Free (salvaged)
- Speed Controller (60A Waterproof ESC): $25.00
- Controller Board (ESP32-C3 Super Mini + RGB LED): $4.00
- Chassis (3D Printed PLA): $10.00
- Battery (2x 3S 21700 Li-Ion): $15.00
- Potting (Liquid Electrical Tape): $5.00
Total Out-of-Pocket Cost: ~$59.00
Lessons Learned
- Drone ESCs fail underwater. The torque characteristics are wrong for propeller loads at low RPM. Use an ESC rated for the application, not repurposed quadcopter hardware.
- KV is poorly documented on cheap motors. If the KV is unlisted, expect to test empirically rather than calculate gear ratios or prop pitch in advance.
- Potting works. Liquid electrical tape is inexpensive, easy to apply, and effective at sealing low-profile boards. It is now the default approach for any electronics near water.
3D Model
Files & Links
Built at 16 years 4 months