Solos HUD: Reverse Engineering & Redesign
Project Overview
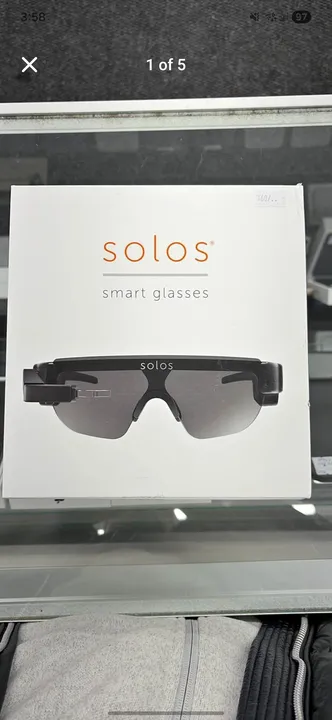
I reverse-engineered and physically redesigned the Solos HUD to make it smaller and lighter while keeping it functional. The work involved analyzing how it communicates, taking it apart, modifying the circuit boards, and redesigning the housing from scratch.
Reverse Engineering
I started by figuring out how the Solos HUD talks to its original app. I analyzed the Android app code and used Bluetooth sniffing to find the exact message format for the display.
 I wrote a custom app to send real-time speed and battery data to the HUD.
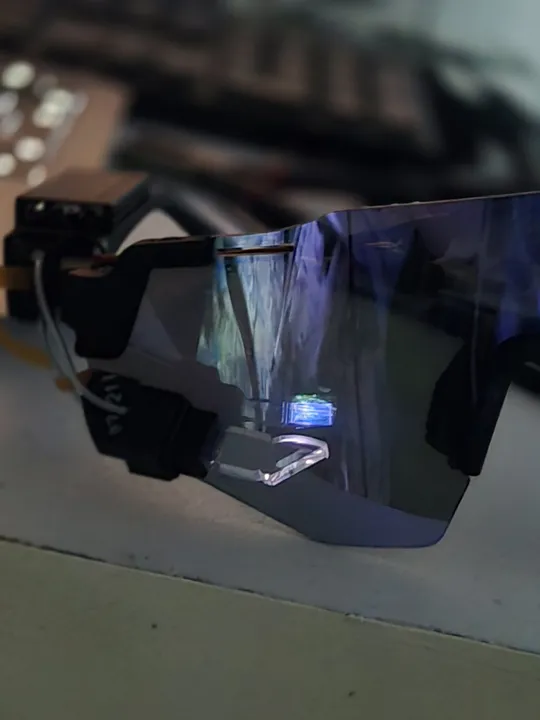
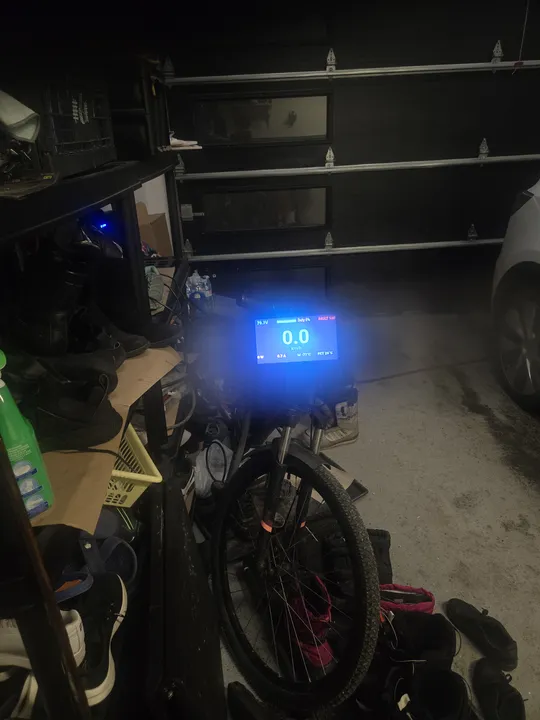
Once I knew how the display worked, I wrote my own software. My custom app reads live speed and power details from my electric skateboard and sends them to the glasses.
Hardware Modification
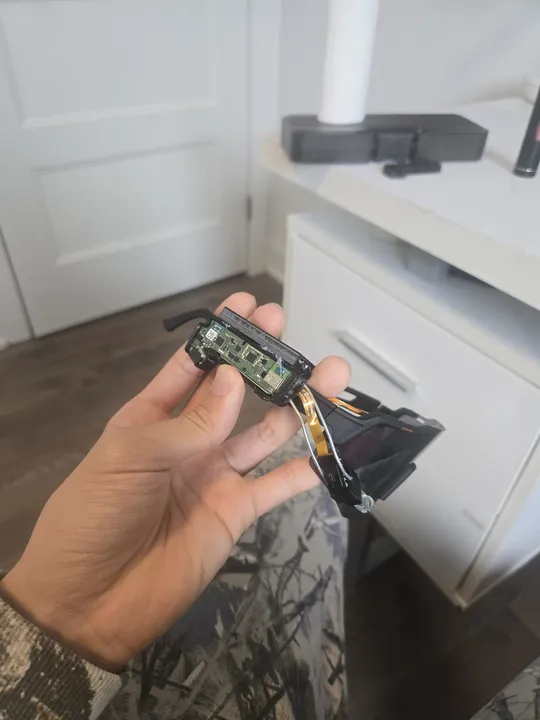
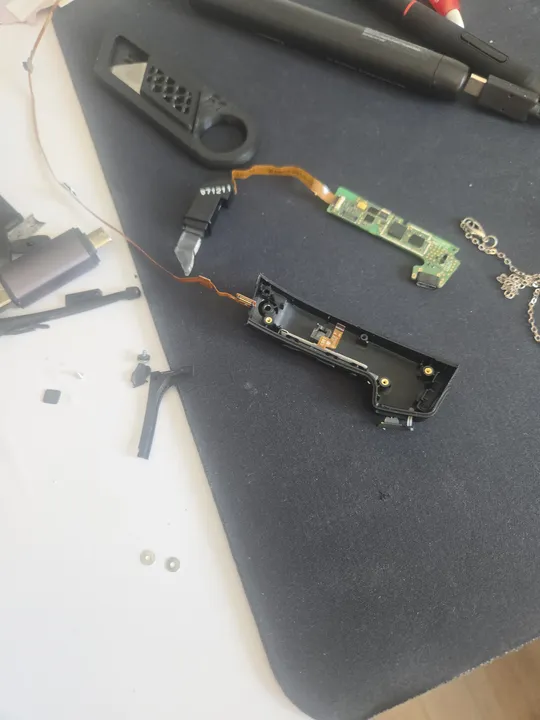
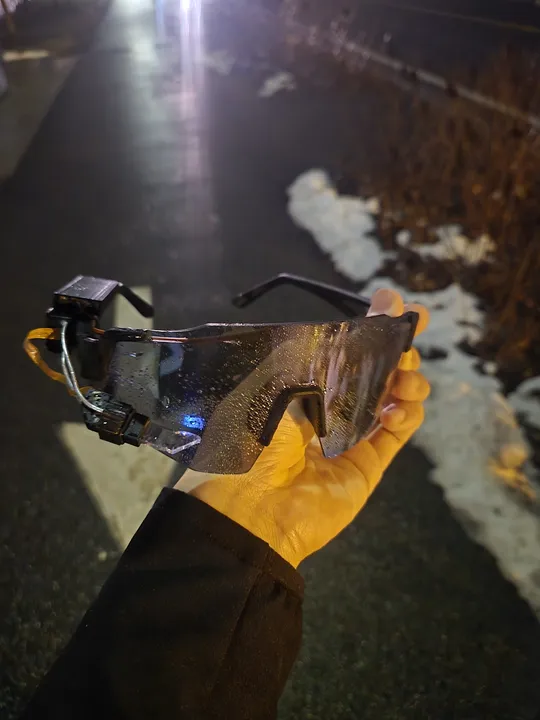
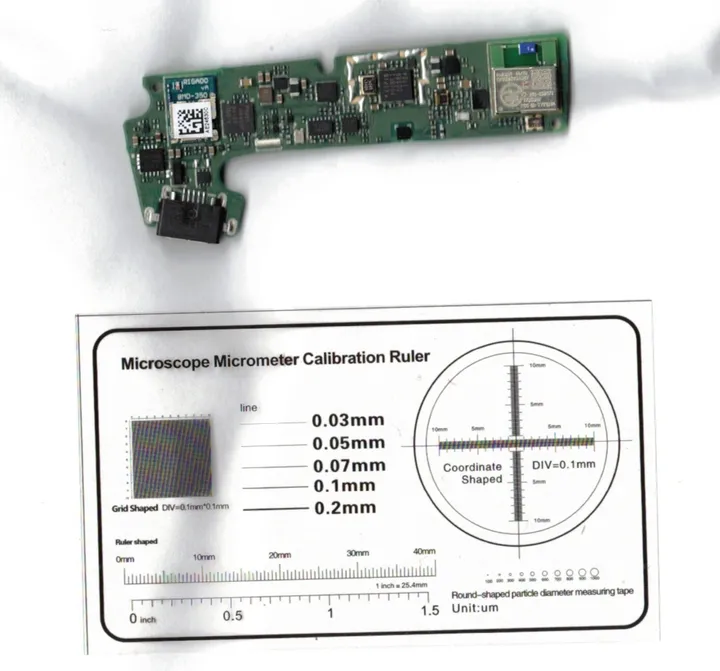
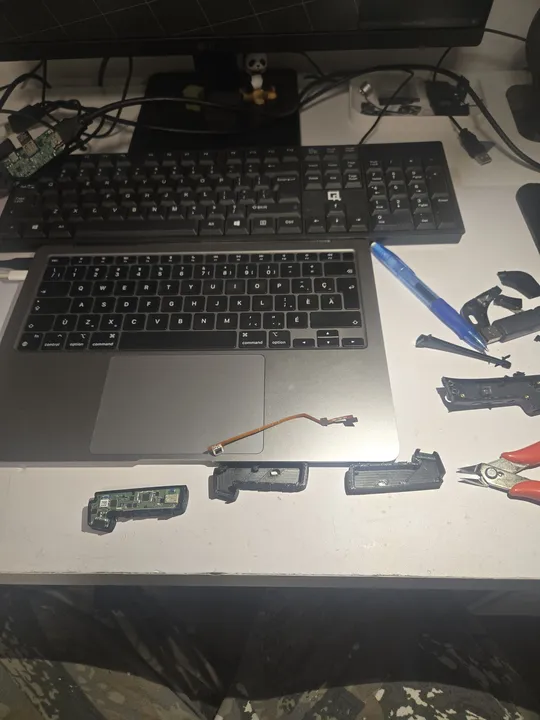
I wanted the HUD to fit on regular glasses, so I took it completely apart. I extracted the main circuit board and the glass prism from the original bulky housing.
To make it even smaller, I had to cut the flat cable that connected the two sides. I used a microscope and tiny cutters to do this safely, then sealed everything with UV resin.
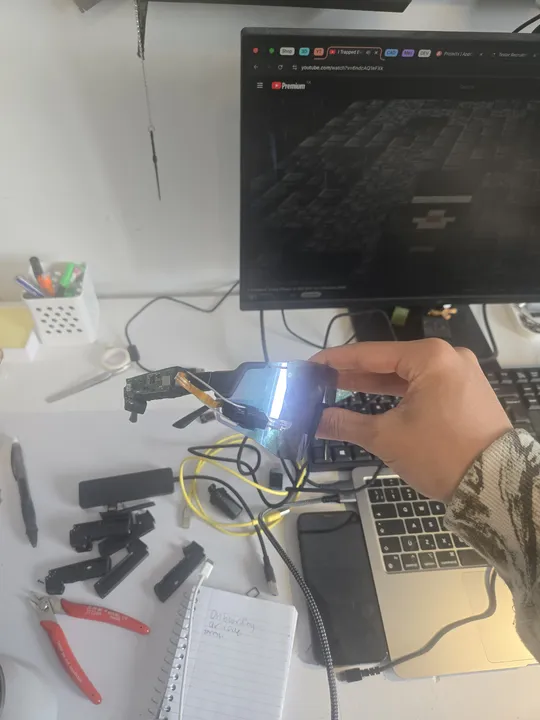
 Fitting the extracted electronics into the new, compact 3D-printed case.
Cutting the cable disconnected the original battery, thermistor, and charging circuit, so I had to build a completely new power system.
Tradeoffs
I made several changes to hit my weight and size targets. The final weight dropped from 65g to 53g.
- Battery Swap: The original 160mAh cell was old and swollen. I replaced it with a salvaged 380mAh lithium cell from scrap hardware, almost tripling the battery life. Since I cut the charging circuit, I added a standalone USB-C charge module with its own protection circuitry.
- No Speakers: I removed the speaker to save space and weight. Audio now comes through external earbuds or a speaker.
- New Housing: I designed a flat PETG case that folds up and mounts on any standard glasses frame from AliExpress.
Bill of Materials
- Solos HUD (Donor Unit): $25 CAD
- Custom PETG Housing: ~$3 CAD
- Eyewear Frames (AliExpress): $5 CAD
- USB-C Charge Module: $1 CAD
- Battery (380mAh, salvaged): Free
Total: ~$34 CAD
Post-Mortem
The redesigned HUD proves you can take apart consumer electronics and rebuild them into something much smaller. The custom software successfully reads skateboard telemetry and displays it on the HUD in real time, giving a high-resolution speed monitor at a fraction of the original weight and cost.
3D Model
Files & Links
Built at 17 years 0 months